# Add Agent to Group
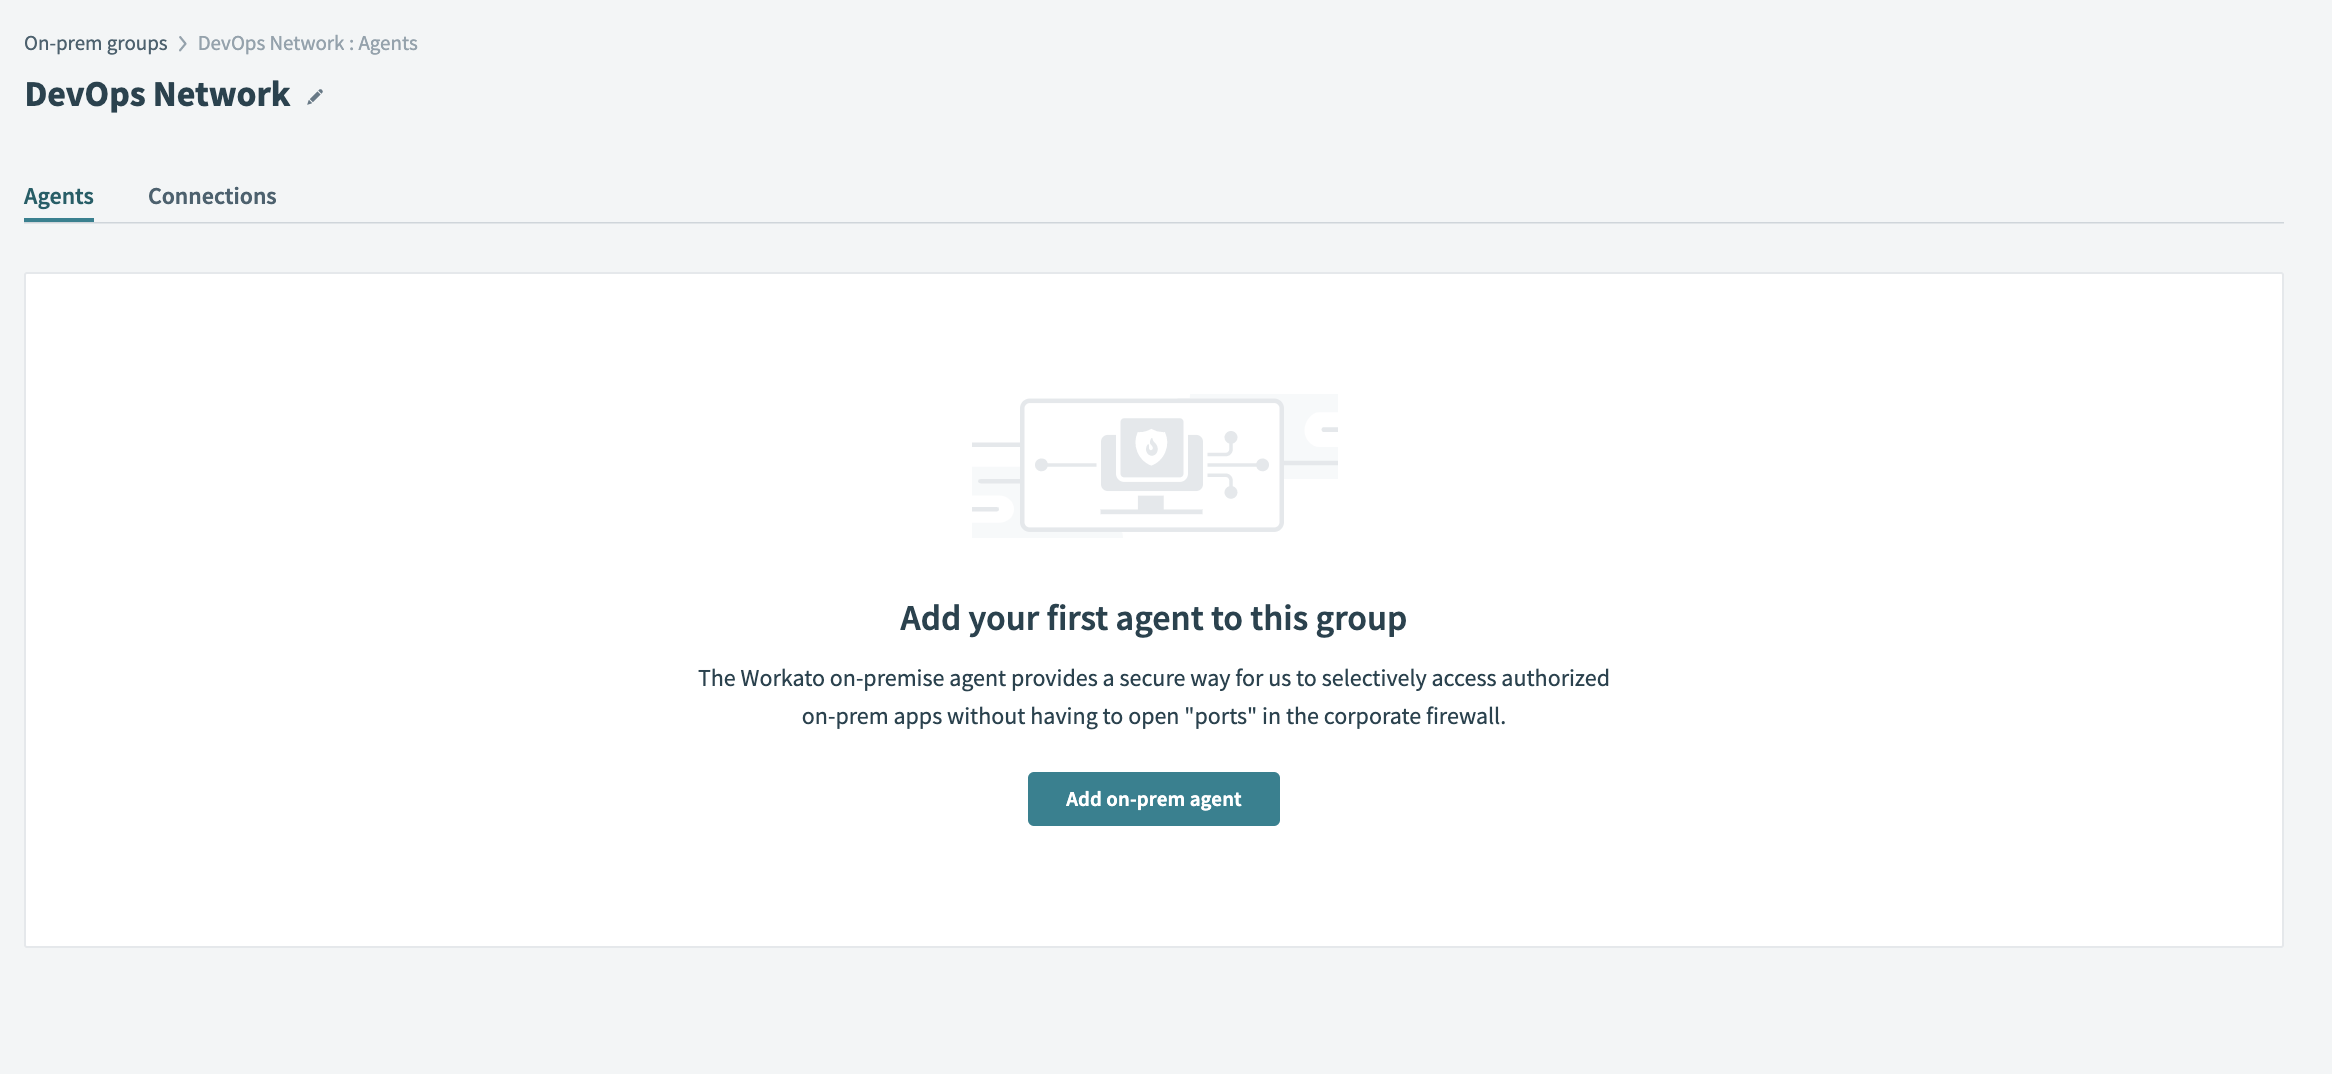 New on-prem group
After you select an on-prem group or create a new group, Workato prompts you to create an agent.
Operating systems
We support the following operating systems:
- Windows
- Linux
.tar.gzarchive installer- DEB package
- RPM package
- Docker image
- Mac OS
Click Add on-prem agent to start an agent-creation wizard that sets up, runs, and verifies that your agent is active.
# On-premise agent setup wizard
For this example, we set up an on-prem agent on a Windows OS.
Windows Service user account
Starting from version 2.18.0 Workato on-prem agent windows service user account is set to Local Service instead of Local System used in previous versions.
You can change the user account by editing the OPA windows service properties.
# Step 1: Install On-prem agent
Open your On-prem group page and click Add new agent. Provide a meaningful agent name, and select your operating system (OS) for the agent installation.
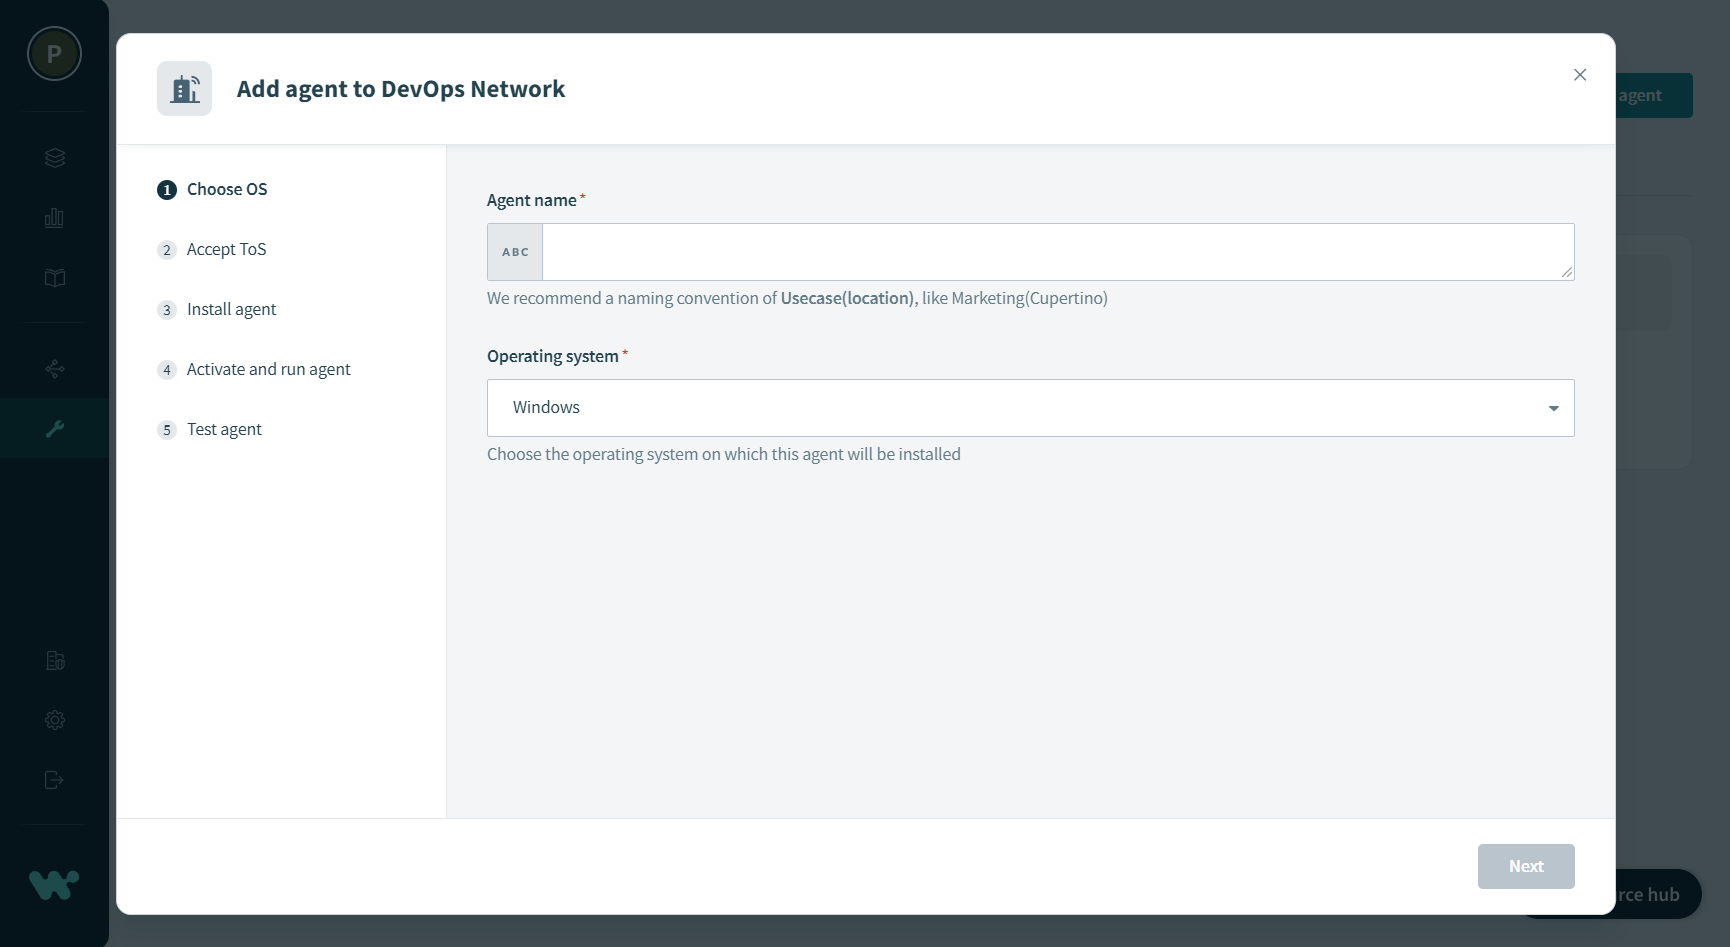 Choose OS
Read and accept the End User License Agreement.
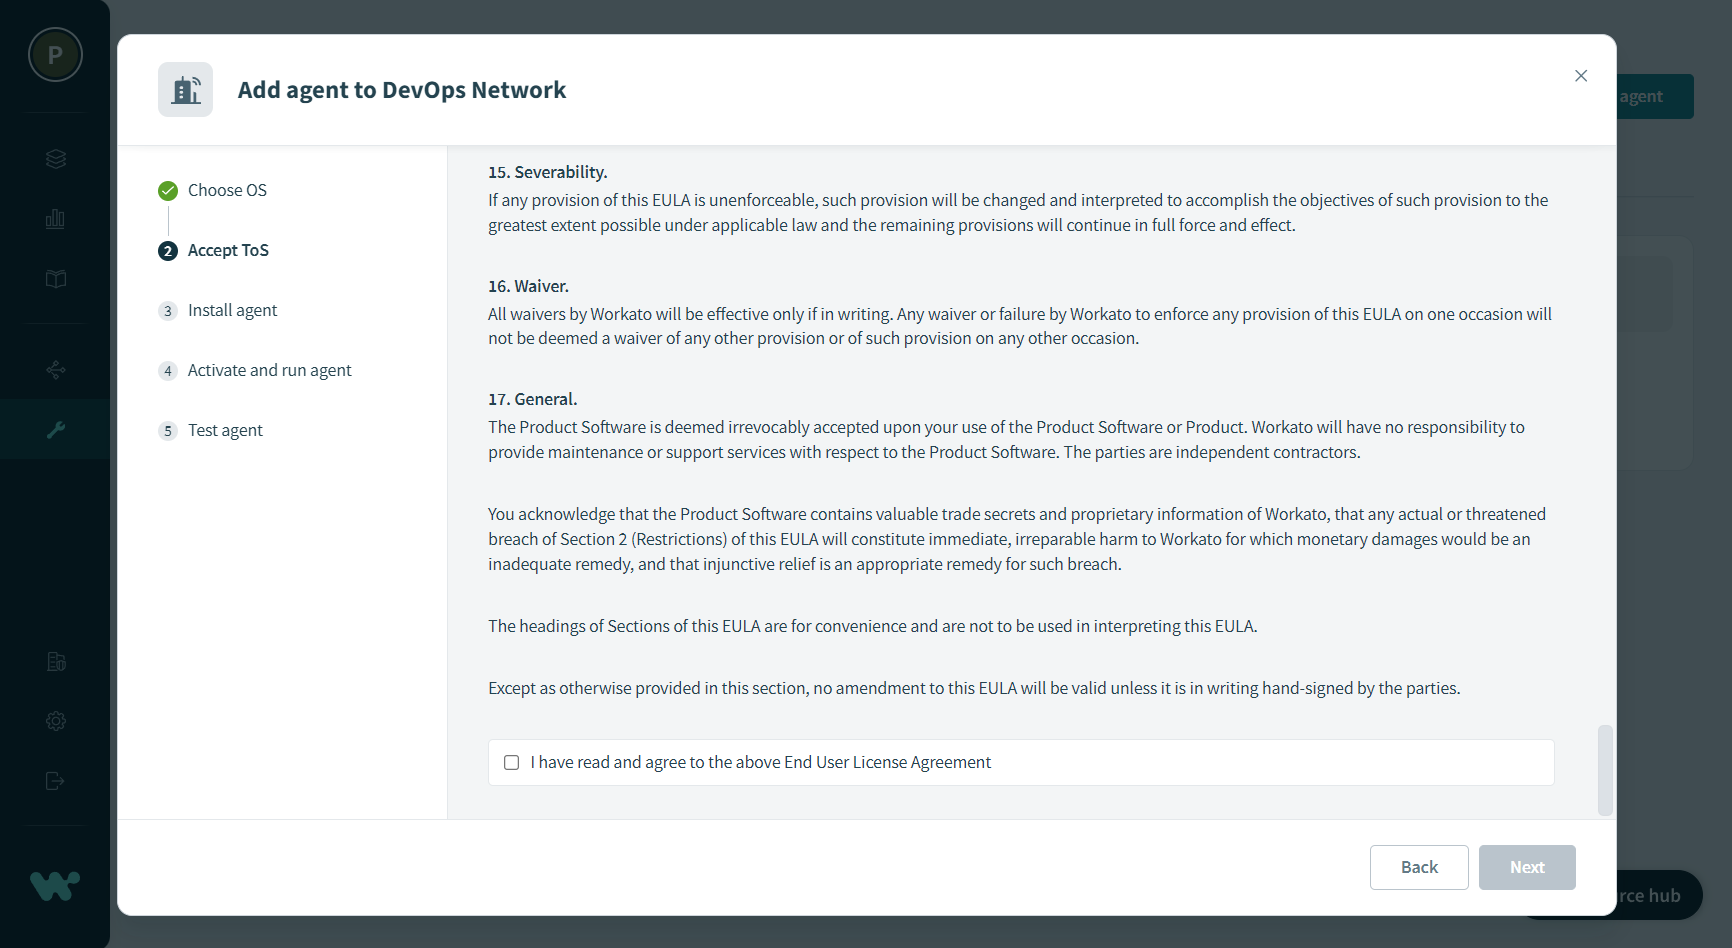 Accept Terms of Service
Download the installer file to the on-prem system and start installation. The wizard provides OS-specific installation instructions.
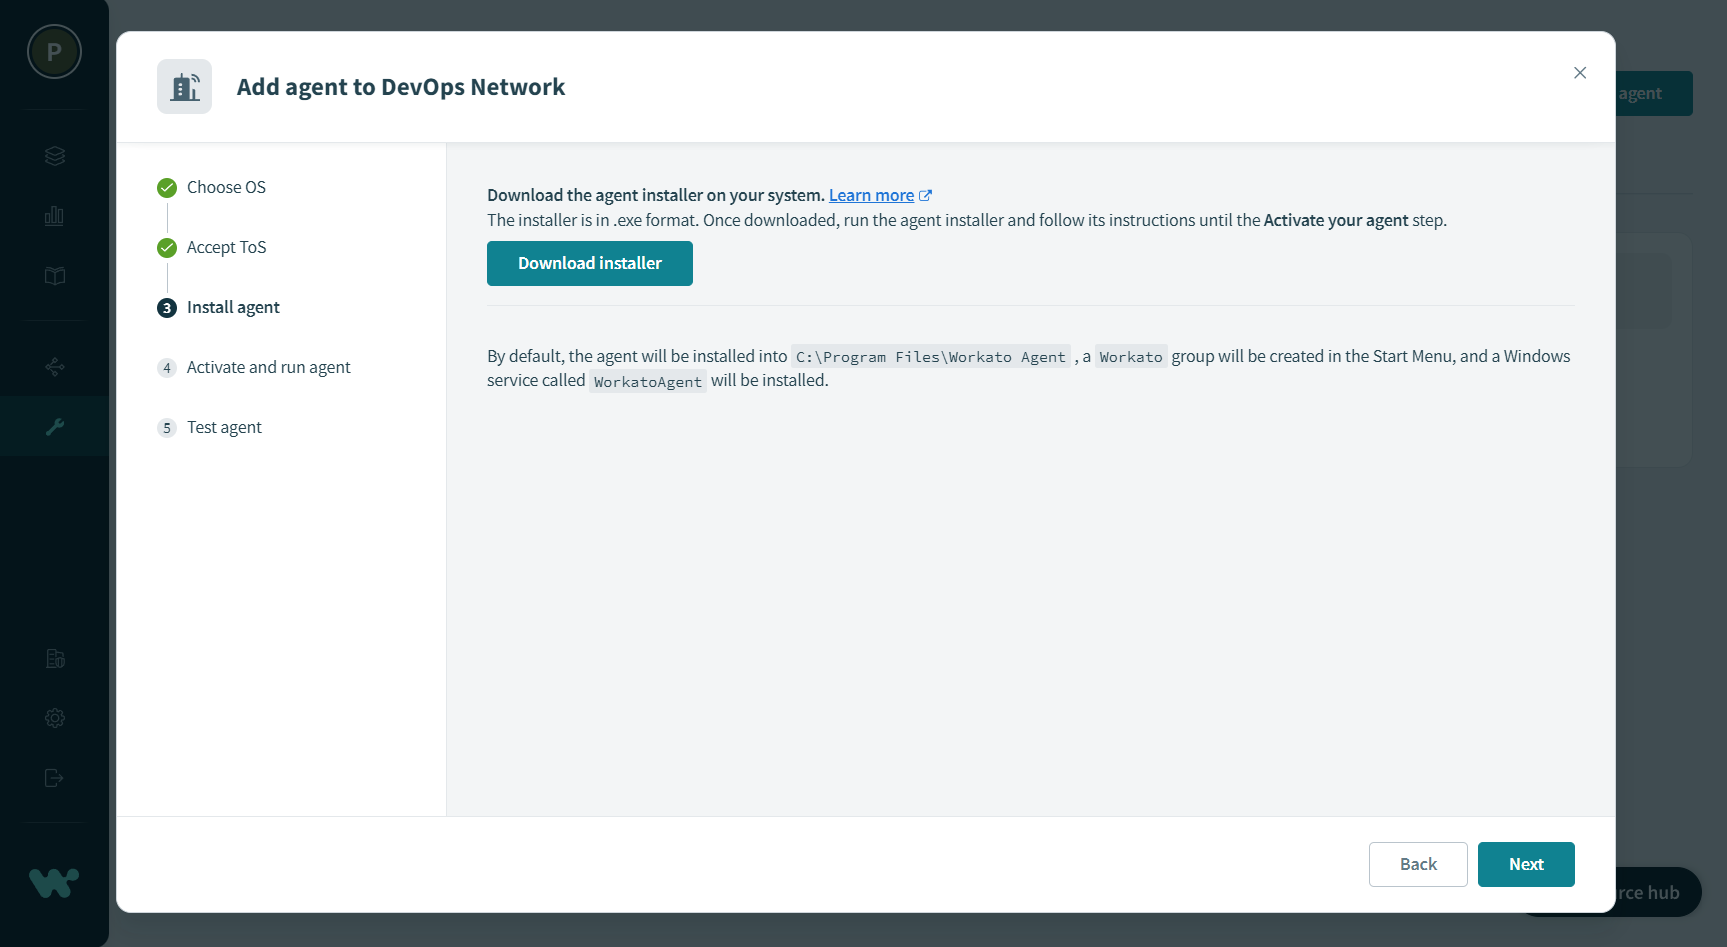 Install agent
# Step 2: Activate and start On-prem agent
During agent installation, you will be asked for an activation code. You can find it in Step 4 of the wizard in Workato. Just copy the code and paste it into the Windows installer.
Please note that the traffic to Workato should be allowed from your server - see more information here.
Alternatively, you can activate your agent later on by running activation.cmd script from the bin folder in your agent installation directory.
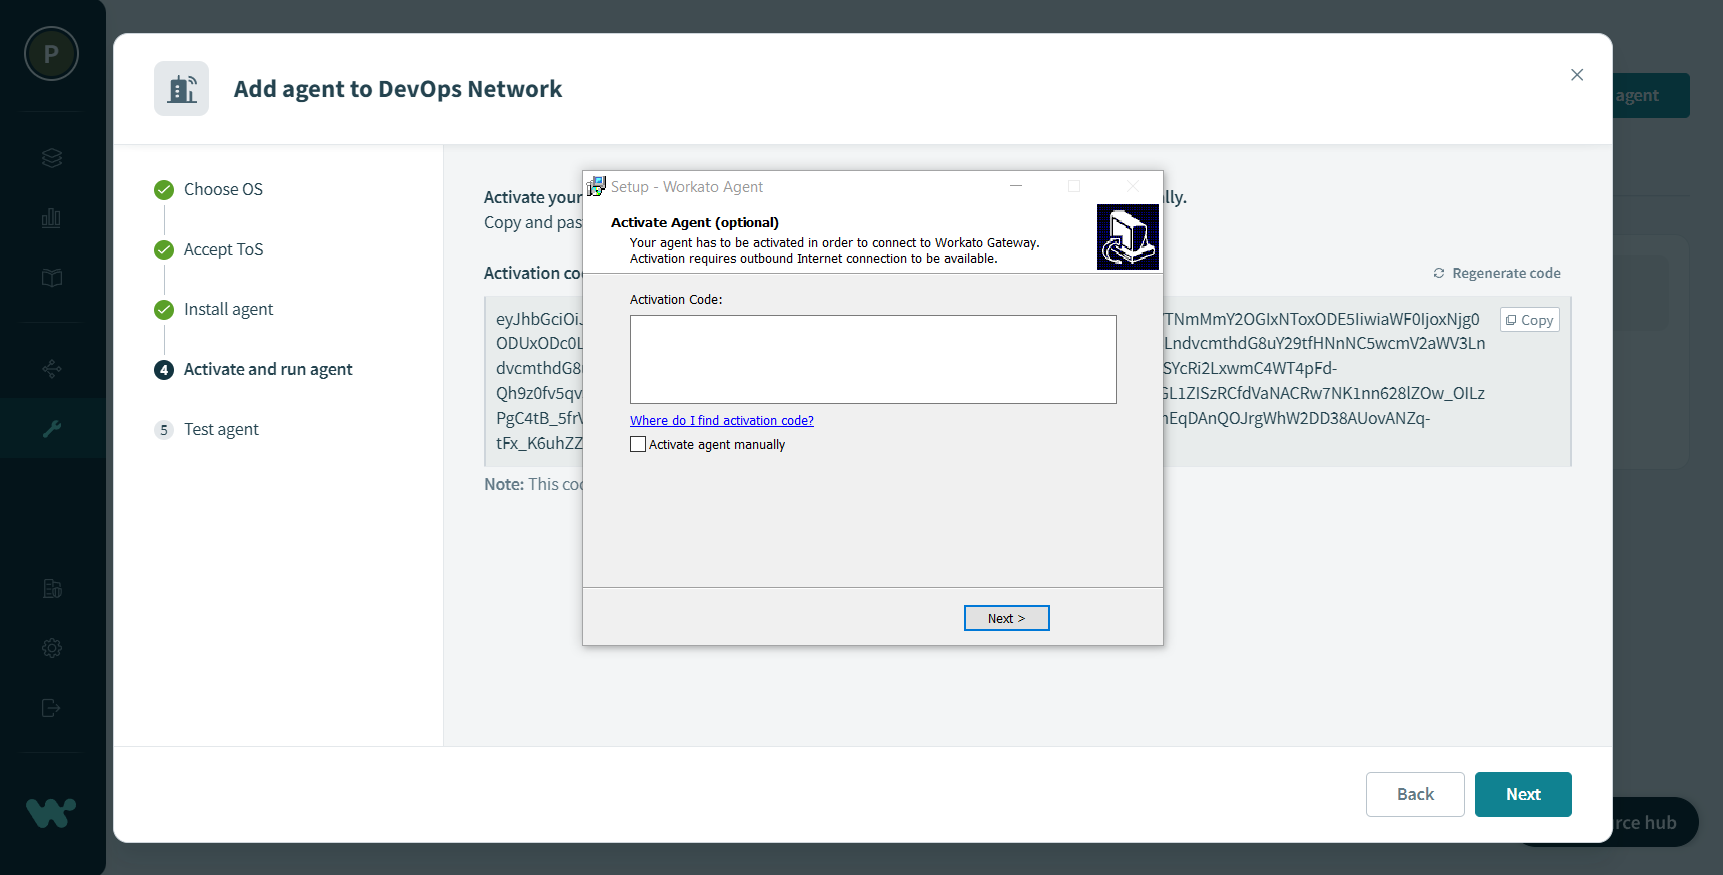 Activate
After the agent becomes active, click Test agent to verify that the connection is successful.
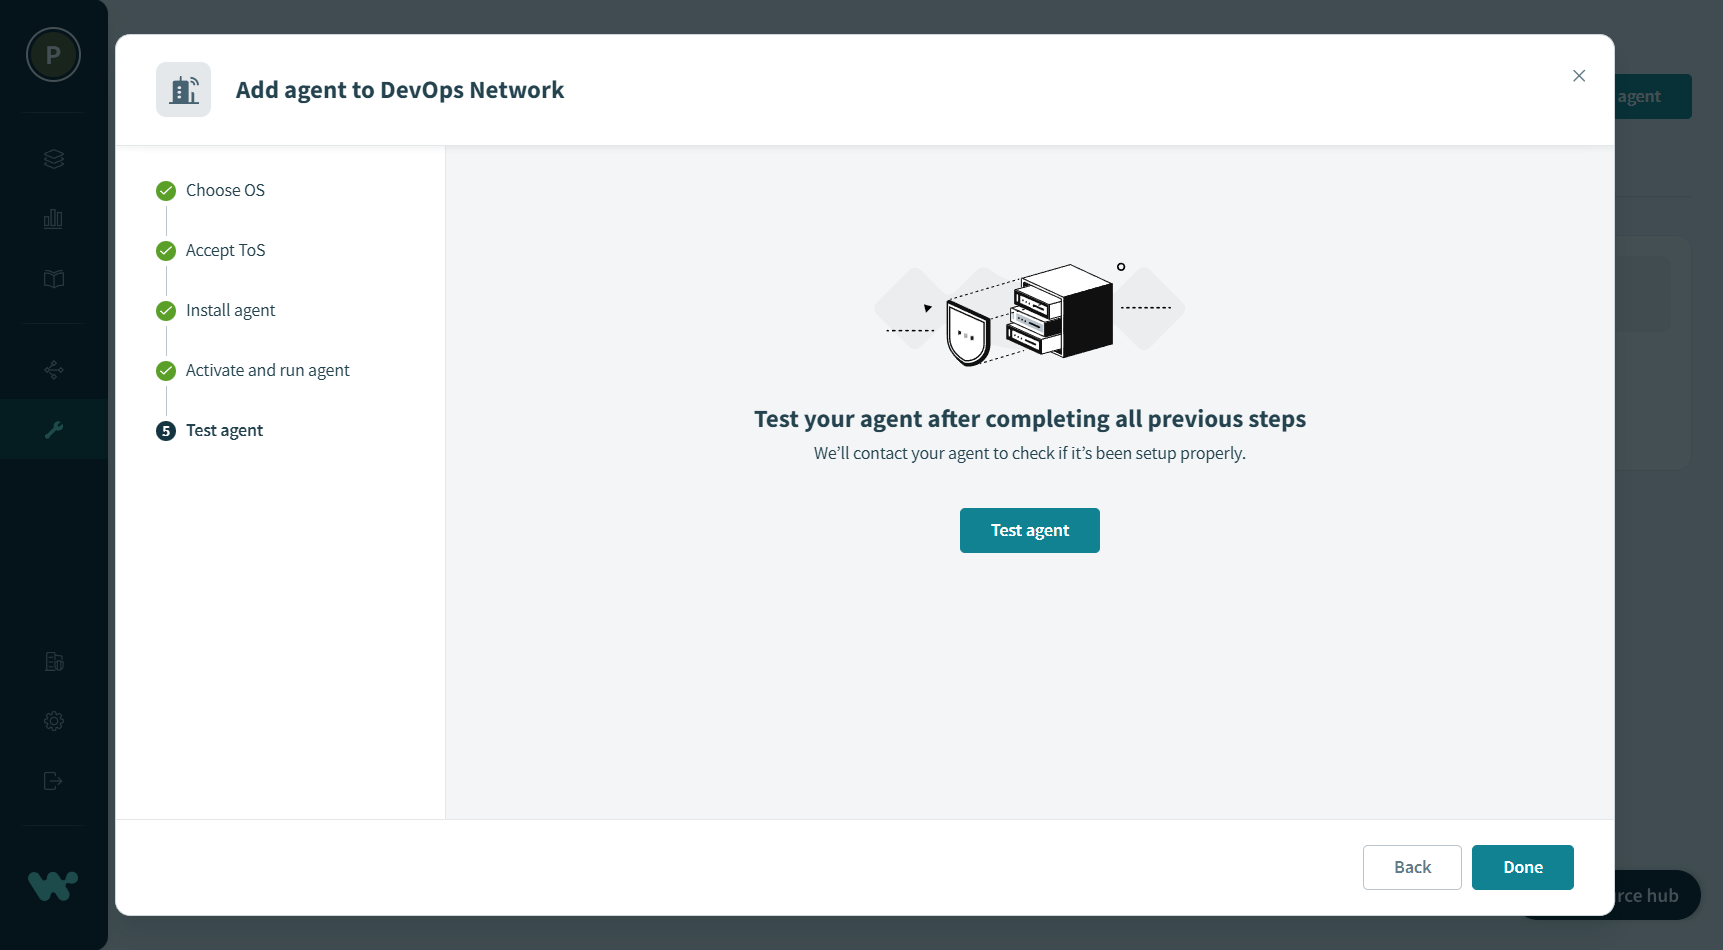 Test agent
Learn more about Setting up On-prem Agent.
Last updated: 10/23/2023, 3:15:48 PM