# Using HashiCorp Vault secrets engine in connections
This guide demonstrates how to use secrets from your HashiCorp Vault secrets engine to configure Workato connections.
# Prerequisites
To complete the steps in this guide, you must have the following:
In Workato:
- An account with a successful HashiCorp Vault secrets engine Workspace-level or HashiCorp Vault secrets engine Project-level connection.
- A user role with Create and Edit Connections privileges.
In HashiCorp Vault:
- HashiCorp Vault Key-value (KV) secrets engine version 1 or 2.
- An account with AppRole auth method (opens new window) enabled.
- One or more AppRole (opens new window)s configured.
- A policy that grants Workato read access to secrets engine configuration and to the secrets engine(s) you plan to use.
# Step 1: Retrieve the secret's details from HashiCorp Vault
Sign in to your HashiCorp Vault instance and open the Secrets interface.
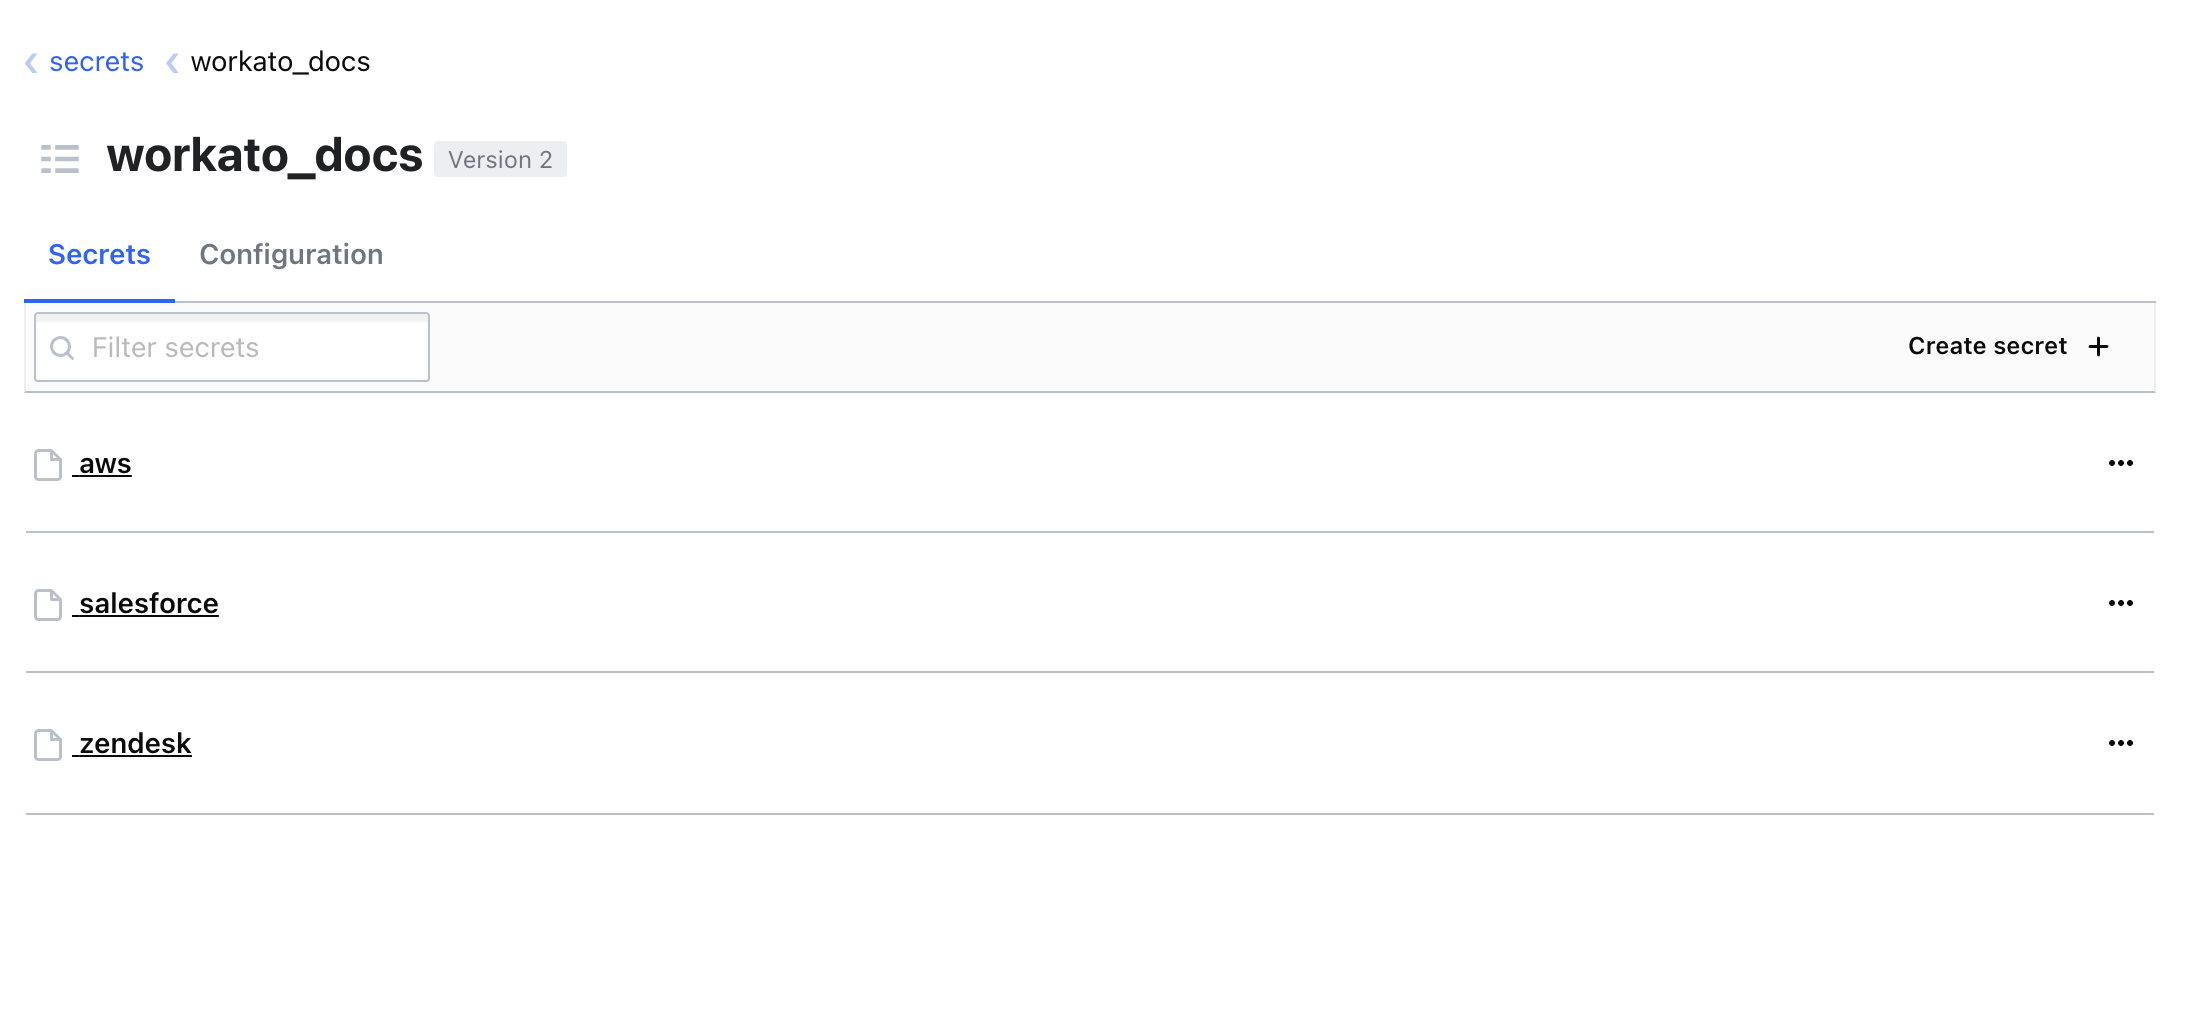
Select the Secrets Engine you plan to use. Take note of the name of the Secrets Engine you select. You will need this to complete the next step.
In this example, the name of our Secrets Engine is workato_docs.
 Select a Secrets Engine
Select the Secret you plan to use. Secrets are key-value pairs.
In our example, the secret name is Zendesk.
 Select a Secret
Keep this page open. You will need to reference it in the next step.
# Step 2: Configure a Workato Connection
In your Workato account, create a new connection or open the configuration page for an existing connection.
HashiCorp Vault secrets in Workato connection credentials follow this syntax:
{{workato:sm:<key_name>:<secret_engine_name>:<secret_name>}}
key_name
The name of the key. Your secret stored in HashiCorp Vault can contain multiple key-value pairs.
secret_engine_name
The name of the secret engine you plan to use.
secret_name
The name of the secret you plan to use. Your secrets engine can contain multiple secrets.
For example:
{{workato:sm:password:workato_docs:zendesk}}
Where workato_docs is the secrets engine and zendesk is the secret's name.
In the connection's configuration page, paste this entire value into the appropriate field.
# Step 3: Complete your Connection Setup
Click Connect and verify that this connection is working.
Last updated: 8/7/2023, 7:58:28 PM