# Upgrading to newer versions
We recommend upgrading your on-prem agent on a regular basis. With every release, we add new features along with improved performance, stability, and security. Refer to the release notes (opens new window) for more information about all the changes.
HOW TO UPGRADE
You have several ways to upgrade your existing on-prem agent:
WORKATO IP WHITELIST
On-prem agent versions 2.11.0 and newer use the latest Workato gateways. If you are upgrading from a version older than 2.11.0, make sure that you allowlist the new gateway IPs.
# Upgrade the existing agent by replacing the old one
An existing agent upgrade requires stopping an existing Workato on-prem agent and replacing it with the latest version. Follow the instructions below depending on your operating system.
# Windows
- Open Workato and go to your on-prem group page (opens new window).
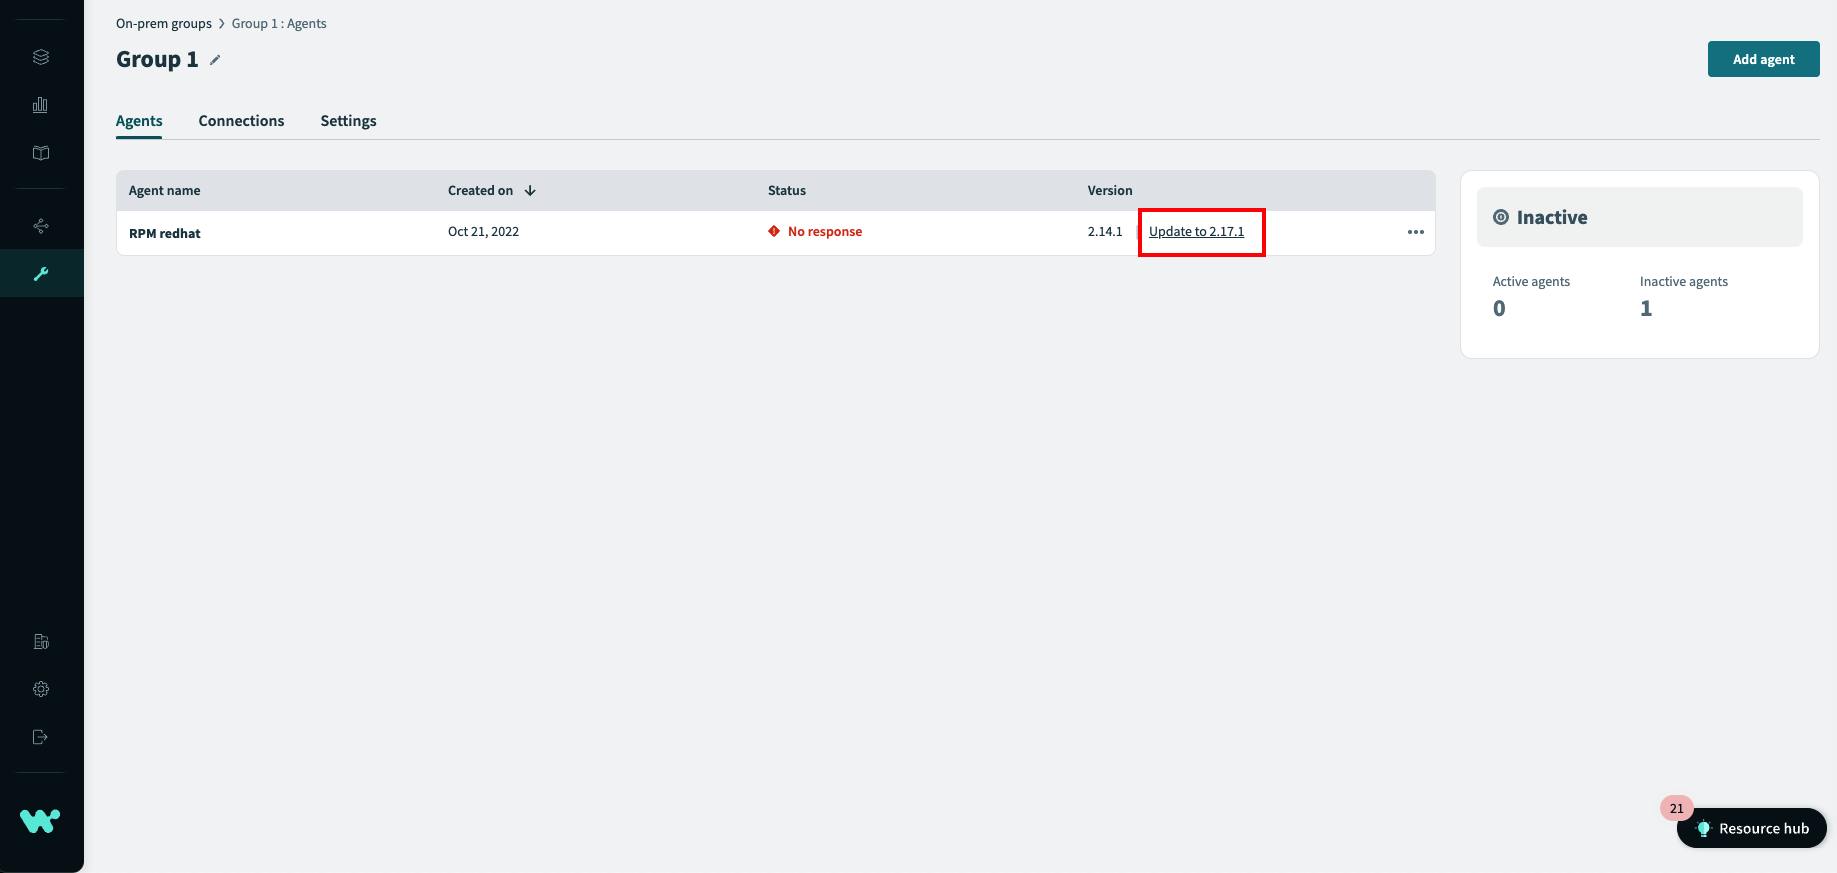
- Open your on-prem group and find the agent that you want to upgrade. Check the current agent version and click on
Update to <latest_agent_version>.
 Update on-prem agent to the latest version
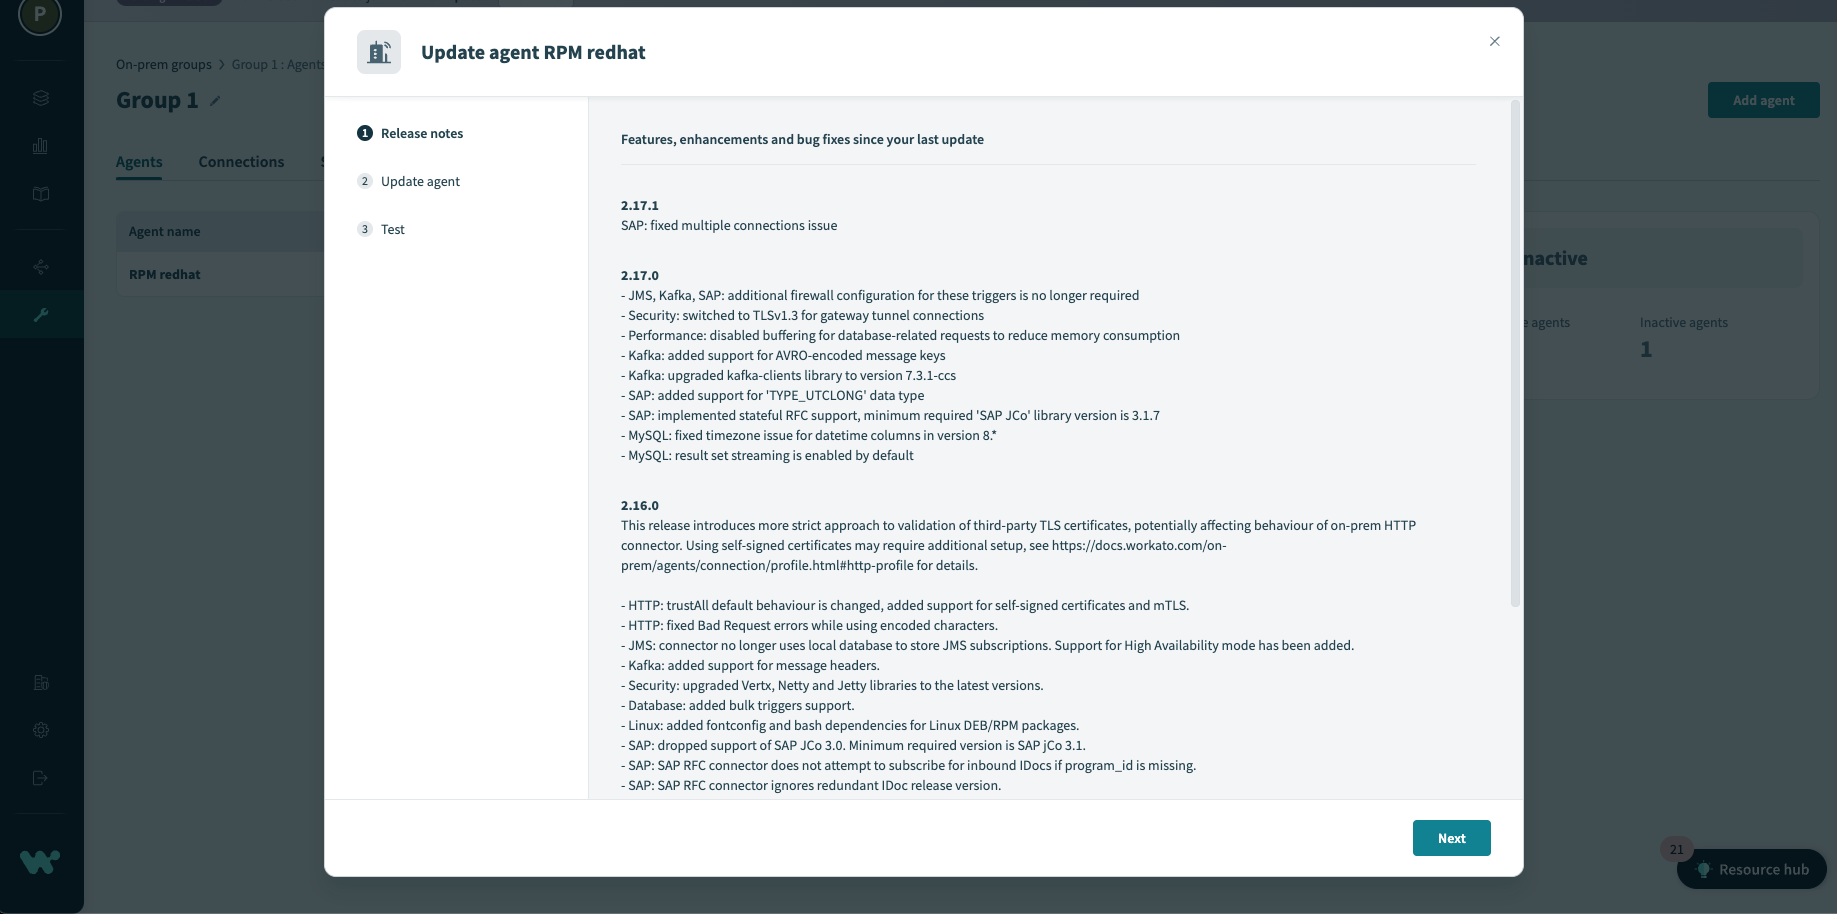
- The upgrade wizard will open. Check the release notes and follow the steps in the wizard, which are also mentioned below.
 On-prem agent upgrade wizard
- Verify that the agent is stopped (either terminate Workato Agent Windows service or console-based agent)
- Uninstall the agent (for example, Start Menu → Workato → Uninstall). This should not change the
config.ymlfile and the certificate files (cert.key,cert.pem) inC:\Program Files\Workato Agent/conf. - Run the downloaded installer (this will automatically install to the same location)
- Run the agent. Depending on the setup, either start Workato Agent Windows service or run the agent from the command line.
- Make sure your agent is active and verify its version number on the on-prem agent page (opens new window).
# Linux/MacOS
- Verify that the agent process is stopped. The upgrade will fail if any running agents are detected.
- Navigate to the agent directory (for example,
cd ~/programs/workato-agent/). Do not navigate further into the/bin/directory. - Run the upgrade script:
bin/upgrade.sh. Make sure you have enough permissions. - Follow the instructions provided by the upgrade script. Confirm the upgrade when prompted.
- Upon successful completion of the upgrade, run the agent (for example,
bin/run.sh). - Make sure your agent is active and verify its version number on the on-prem agent page (opens new window).
- The upgrade process is not triggered if no new versions are available. However, it might be necessary to repair a broken installation; in that case, use the command line option when running the upgrade:
bin/upgrade.sh --force.
# Troubleshoot
- For Linux/MacOS users, if you have anaconda installed on your terminal, be sure to deactivate any conda environments with
conda deactivateas it will cause an error when upgrading.
# Upgrade existing agent with zero downtime
When you are running your agent in the production environment and do not want interruptions, you can upgrade by adding another agent to your on-prem group.
Go to your on-prem agent page (opens new window) and open the on-prem group with the agent that you want to upgrade.
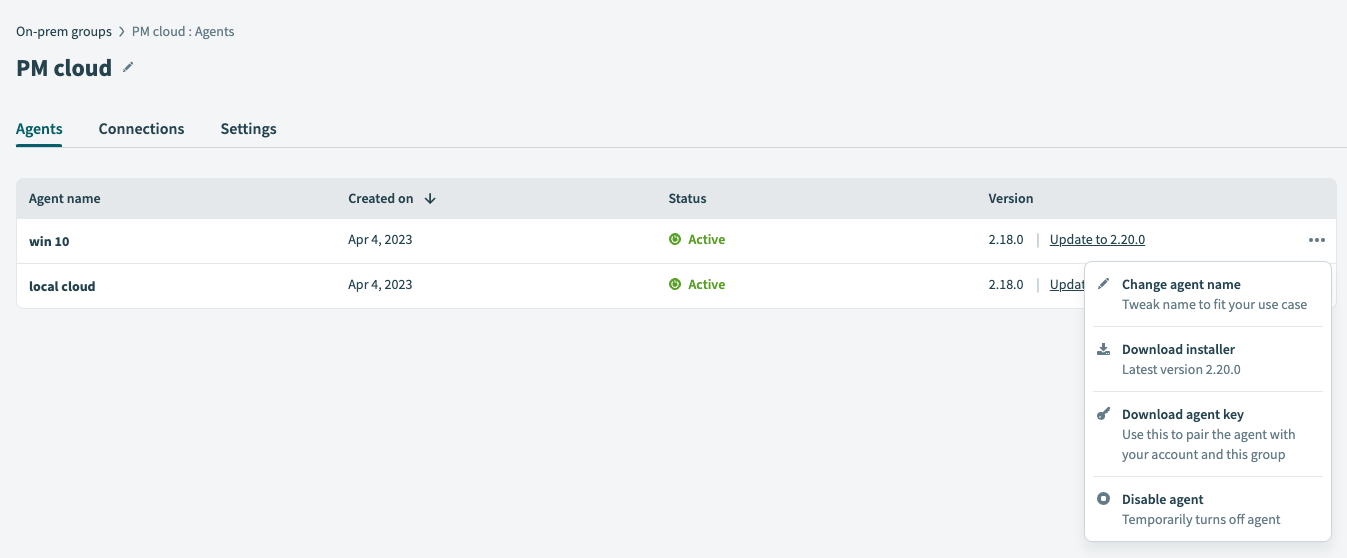
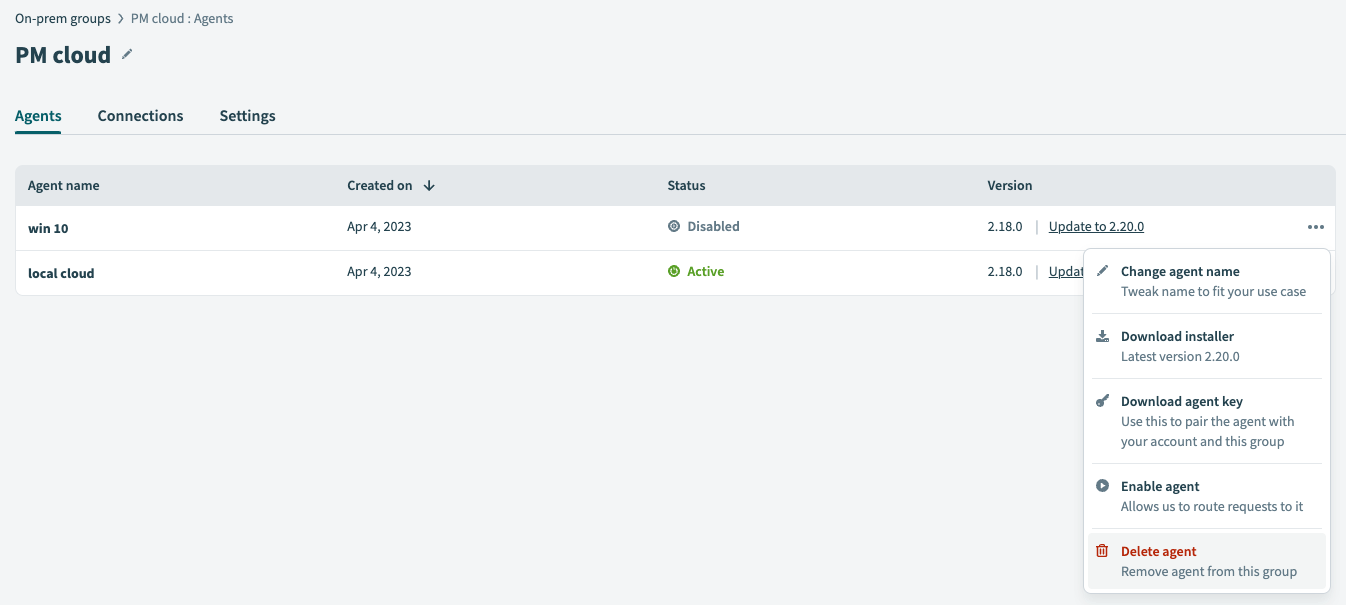
If your group has more than one agent simply stop or disable the one you want to upgrade. The other agents will continue processing the jobs.

If you have only one agent in your on-prem group, add another one following these steps (opens new window).
Afterwards, start your new agent. The new agent should start accepting some of the jobs. You can
check the logs of the new agent to make sure it is working properly.
Note: if you are using the config.yml file to set up your connections, copy it from your old agent to the new one. This allows agents to connect to the same resources.
Warning: if you are using password encryption to encrypt your passwords, you must encrypt them again for the new agent. The encryption is based on specific agent keys and they are different for each agent.
Stop your old agent. You can do this by stopping the Windows service or by disabling the agent in Workato.
The agent that you added in previous steps has now replaced your old on-prem agent. After you confirm that the new agent is working properly, and there are no errors in your running recipes, you can remove or uninstall the old agent. In case of any issues, you can disable the new agent and restart the old one.

# Upgrade existing agent older than 2.15.0 and start configuring connections directly in Workato
With on-prem agent version 2.15.0, we have introduced a new and easy way of setting up the connections. Instead of using the config.yml file you can configure the connection directly in Workato. Learn more here (opens new window).
To start using cloud profiles, you must add the new on-prem group as mentioned in the preceding link.
Open your new on-prem group and install the agent (opens new window) on the same machine as the old one.
Set up the required connections directly in Workato. Make sure you can successfully connect using your new on-prem agent.
Clone or edit your recipes and switch them to the new connections. Make sure all connections in the recipe are updated.
Stop and disable old agents. Congratulations, you can now set up your on-prem connections directly in Workato!
If you need any help with the upgrade process, reach out to your Workato account representative for assistance.
Last updated: 6/20/2023, 7:33:19 PM